
Introduction
Do you need help upgrading to Windows 11? You are not alone.
Moving from Windows 10 to Windows 11 can be complex with users running into problems with compatibility, long waits, or every step of the upgrade process can be confusing.
Fortunately, Microsoft has a powerful tool called the Windows 11 Upgrade Assistant.
In this article, I will help you understand everything you need to know about the Windows 11 Upgrade Assistant, including what it is, how to use it, experiences in the wild, and tips and tricks from IT professionals to successfully upgrade without any issues.
Whether you know your way around a computer, or you are completely stopped and confused, here is an article to help you successfully upgrade without a ton of headache and hassle.
Let’s explore, how you can make your upgrade from Windows 10 to Windows 11 as seamless as possible.
What is Windows 11 upgrade Assistant
The Windows 11 Upgrade Assistant is an official Microsoft software tool that provides Windows 10 users with an option to upgrade to Windows 11 in a safe manner and without the risk of losing any apps or files.
It checks your device for compatibility, downloads the required files, and takes you through the upgrade process step by step.
Real-life experience:
When I first tried to upgrade via the regular method (Windows Update), the upgrade was not available to me, despite my device being compatible.
However, when I downloaded the Upgrade Assistant, it immediately began the upgrade process, saving me countless hours of confusion.
The Upgrade Assistant is very helpful for anyone:
Who has not received the update via Windows Update
Wants a manual upgrade method
Wants an edge as it is a guided, Microsoft-approved process
Next, we will examine whether your device is capable of utilizing this tool correctly.
Why we use Windows 11 Upgrade assistant
Users constantly question the need to use the Upgrade Assistant over performing a manual install of Windows 11 via an ISO file.
I can say from personal experience that the Upgrade Assistant makes the upgrade process much simpler because you do not have to worry about drivers, BIOS settings, or possible boot problems.
Advantages of using the Upgrade Assistant:
Will automatically check for your system compatibility
Save time and reduce risk while installing.
Install the latest version of Windows 11 directly from Microsoft
Also, if you are not comfortable with bootable USBs, partitioning, & BIOS settings, this tool is easy & safe to use.
What are System Requirment for Windows 11 Upgrade Assistant?
If you’re thinking about using the Windows 11 Upgrade Assistant to move from Windows 10 to Windows 11, you must first ensure your computer meets the system requirements.
This step is critical to avoid upgrade errors or failed installations.
Key Requirements at a Glance:
Processor: A 1GHz or faster processor with at least 2 cores on a 64-bit architecture (or SoC)
RAM: Minimum of 4GB
Storage: 64GB or more of available space
Firmware: UEFI with Secure Boot enabled
TPM: Trusted Platform Module version 2.0
Graphics: Compatible with DirectX 12 or later with WDDM 2.0 driver
Display: At least 9 inches with 720p resolution
Internet Access: Required for downloading and installing updates
My Personal Experience:
When I first tried the upgrade on my laptop, I was surprised to see a message saying “This PC can’t run Windows 11.” I thought my device was fairly modern.
Turns out, TPM 2.0 was disabled in my BIOS settings.
After enabling it and switching Secure Boot on, the Upgrade Assistant gave me the green light. That’s why checking these details beforehand can save you a lot of stress.
Why It Matters:
Microsoft isn’t just being picky — these requirements are designed to ensure your device runs Windows 11 smoothly and securely.
Many new features in Windows 11 depend on specific hardware capabilities that simply weren’t necessary in Windows 10.
how to dowload the windows 11 upgrade assistant safely
One of the easiest and most official methods for installing Windows 11 is by using the Windows 11 Upgrade Assistant.
This is one of many tools Microsoft has released to allow users an easy way to upgrade from Windows 10 to Windows 11 without the need to create bootable media.
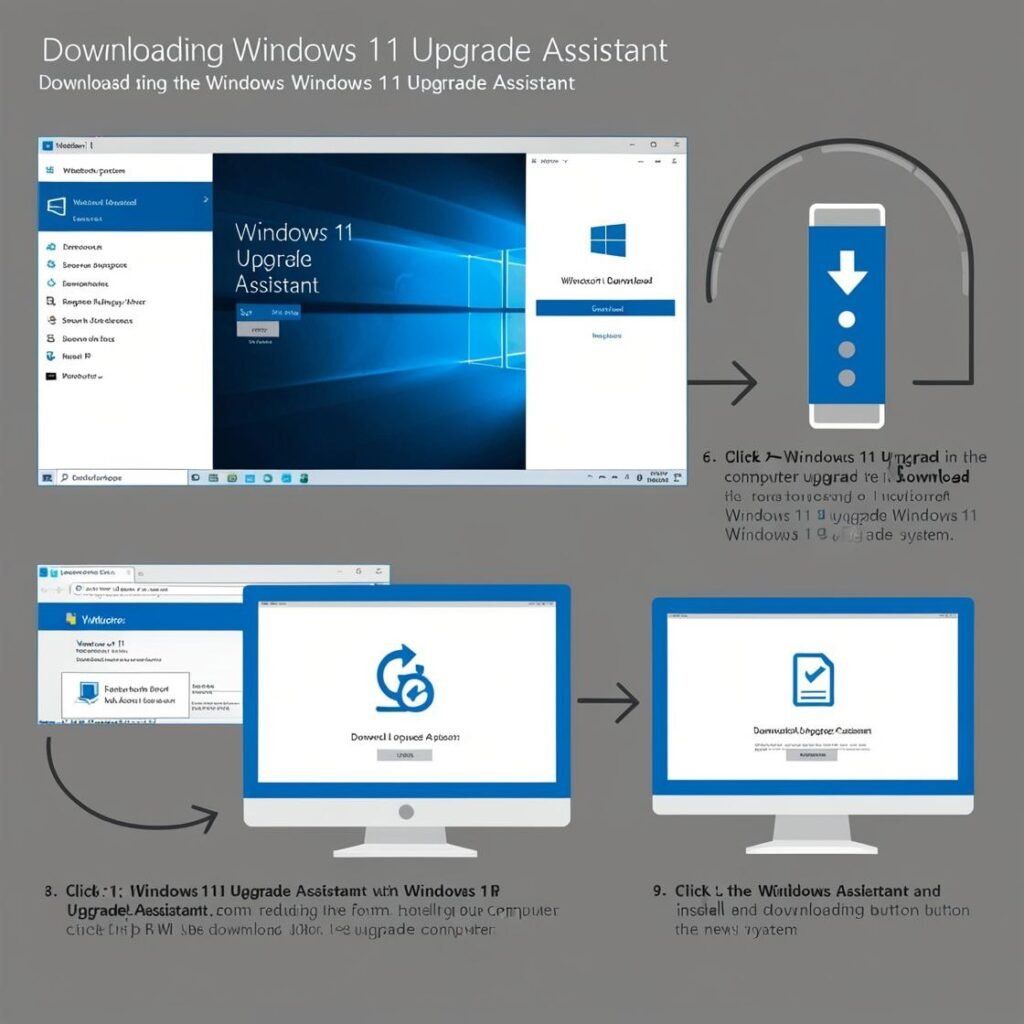
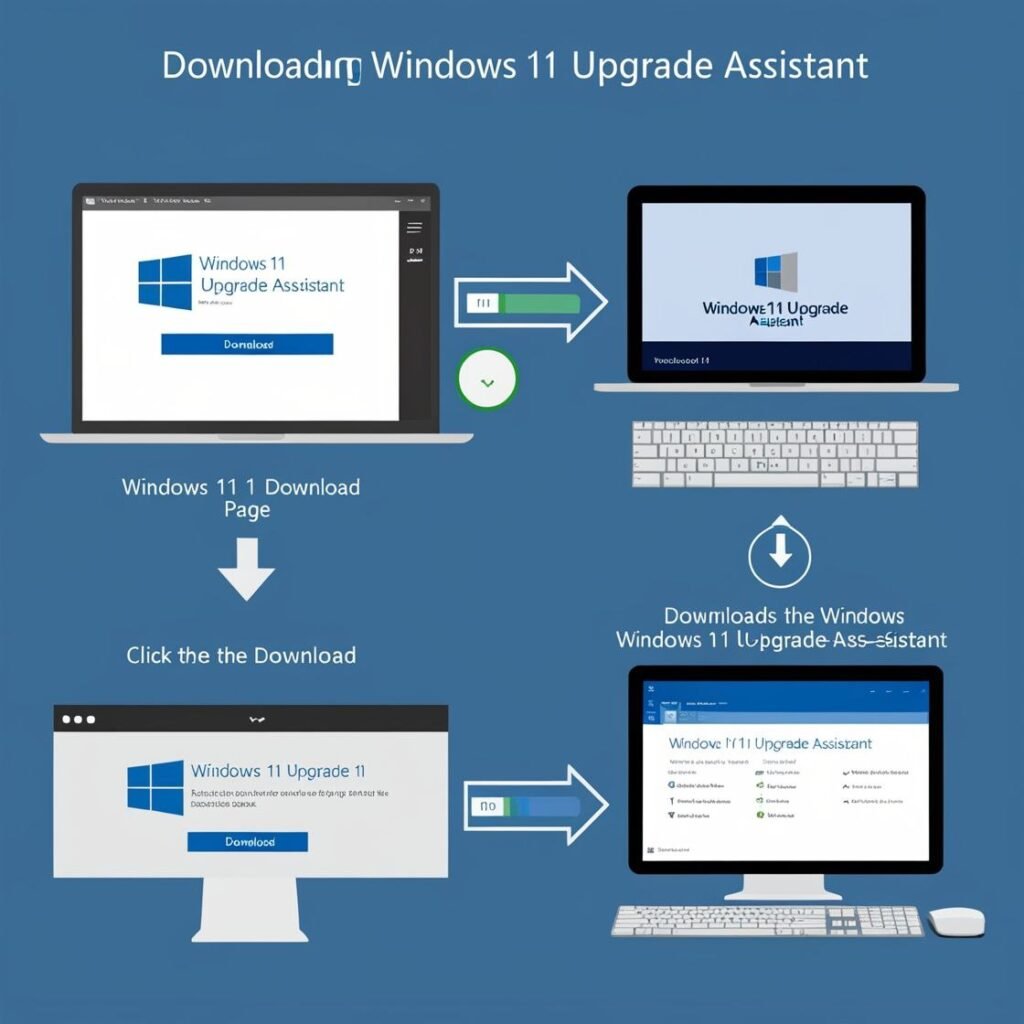
Downloading and Saving Instructions:
1. Head to the Official Microsoft Website Go to microsoft windows 11
2. Click on ‘Download Now’ in the “Windows 11 Installation Assistant” section.
3. Download and Save file to your PC (typically it will be saved as Windows11InstallationAssistant.exe).
4. Run the installer, and complete the install by following the on-screen prompts. My Personal Opinion.
In my professional experience,
downloading it straight from Microsoft’s website is the best way to ensure you are receiving the newest and most secure version.
Years ago, I was trying to download a version off a third-party source, only to have my antivirus flag it immediately.
Since that moment, I trusted Microsoft’s website to be the most reliable source of safety and security.
Why It Matters: The Upgrade Assistant is a great tool because, unlike most clean installations, the Upgrade Assistant will retain your apps, files, and settings and for this reason, Upgrade Assistant is great for those without much technical knowledge.
how to install windows 11 ISO read here
How to use Windows Upgrade assistant to Install windows 11
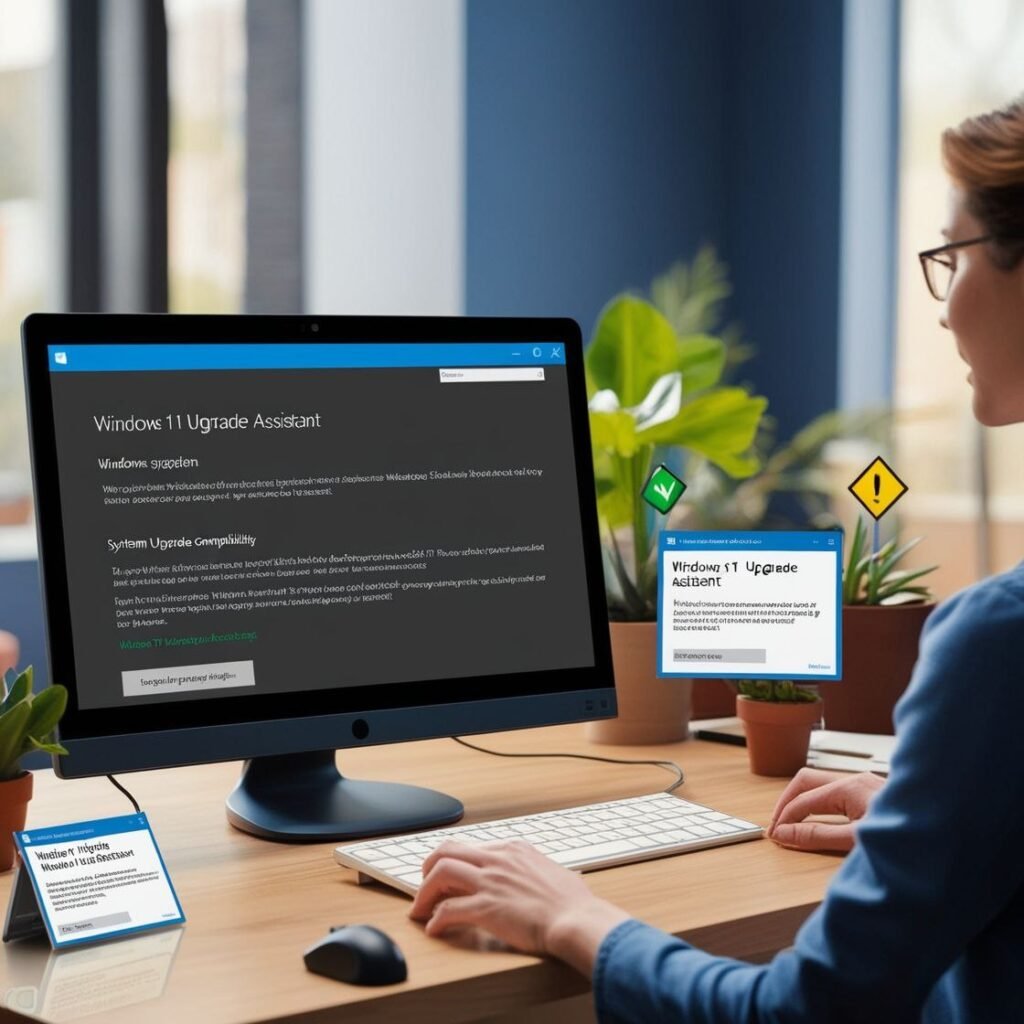
After you download the Upgrade Assistant, the coming challenge comes in knowing how to duly use it and safely install Windows 11.
Below is a step- by- step companion that indeed a neophyte could follow.
Step- by- Step companion for Installation
1. Launch the Installer
Double click your downloaded Windows11InstallationAssistant.exe file.
However, elect” Yes, If stoner Account Control prompts you for authorization to make changes to your device.”
comity check of your device
The upgrade adjunct will incontinently check if the PC meets the conditions for Windows 11.
still, it’ll do, If the PC is good to go.
3. Accept the Terms
still, read the Microsoft license agreement and Accept the license agreement so you continue the installation process, If you’re ready to go.
4.Start the Installation
elect” Install.” Your PC will start the process of downloading and installing Windows 11. Depending on your internet speed and the performance of your PC, this may take a while.
5.The upgrade adjunct
will renew the computer multiple times in the installation process.
The upgrade adjunct will automatically renew the PC for a couple of cycles. Do not worry, this is anticipated.
My Actual Experience Tip:
WhenI used the Upgrade Assistant I plug the laptop into power, then I closed all applocations – this is the best way to go to set it up and not have issuse related to other things going on.
I would highly recommned that you do the same!
Important Note:
Make sure to have a good internet connection during the download, and back-up those important files as a safety measure!
this video help more information about windows upgrade assistant
Common issues you might face when using the upgrade assistant and how to fix
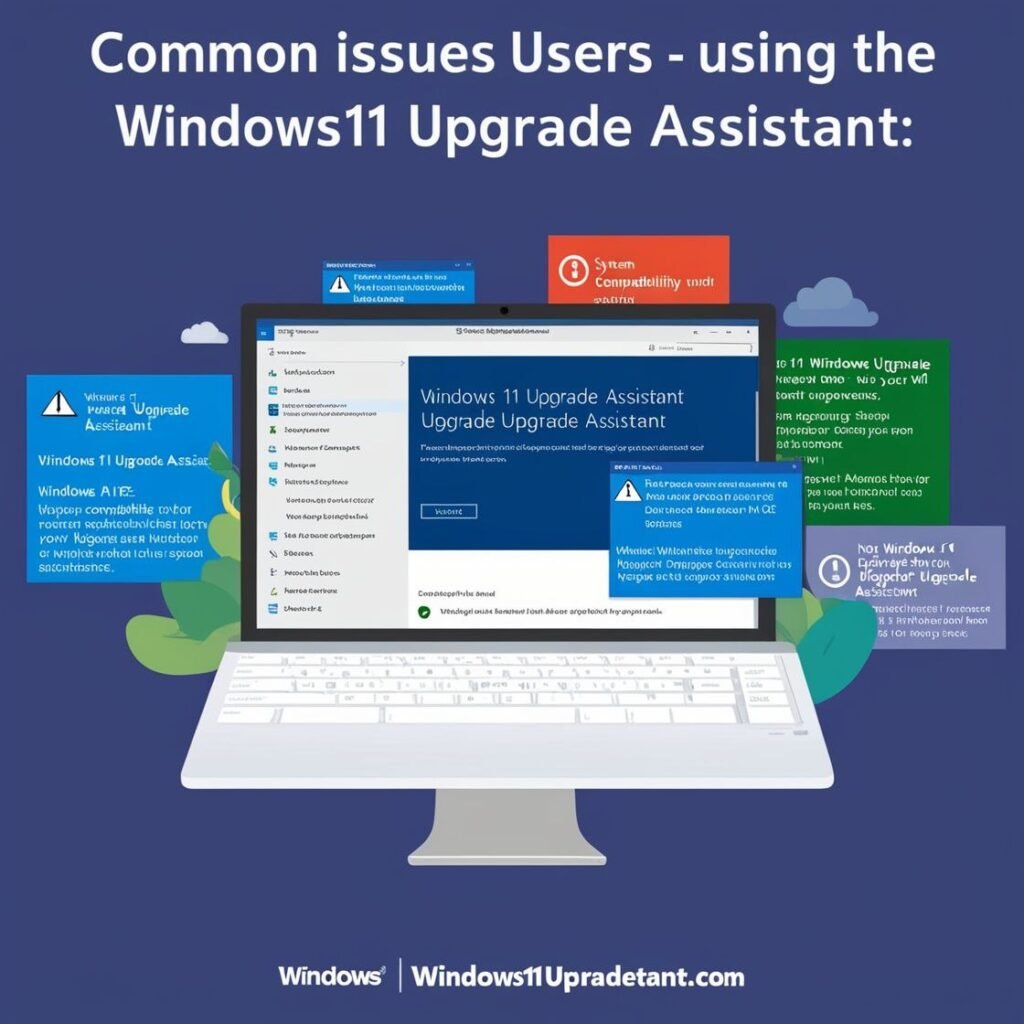
While the Upgrade Assistant was created to simplify the installation Apple has not guaranteed you, some issues can arise during installation.
Let’s review the most common issues—and my solutions.
1.Compatibility Issues
The Assistant may sometimes indicate that your PC doesn’t meet system requirements, even when it does.
In my instance, it was due to Secure Boot not enabled in the BIOS.
After I enabled Secure Boot, the error message was gone.
2. Stuck at 99%
On occasion I have seen the installation become unresponsive when it hits 99%. Typically, this indicates some background processing is happening, such as driver updates.
I would suggest to give it an reasonable amount of time, as in my case it completed after about 20 minutes.
3. Space Issue
If your device does not have enough free storage available the assistant will not continue.
In my case, I needed to remove some unused files and uninstall some unused apps to get at least 20GB of free space.
4. Internet Issues
Fluctuations in Wi-fi signals can interfere with the download.
For my system, it was unreliable enough that I plugged in an Ethernet cable to mitigate the risk, and continue the download.
Real World Tip:
Don’t become alarmed if the Assistant has a black screen for a while, or if the progress screen appears to be unresponsive.
I thought the installation had stalled, but apparently it was working just fine and continued at a later time.
If your installation freezes, have patience!
what to do after installing windows 11 upgrade assistant
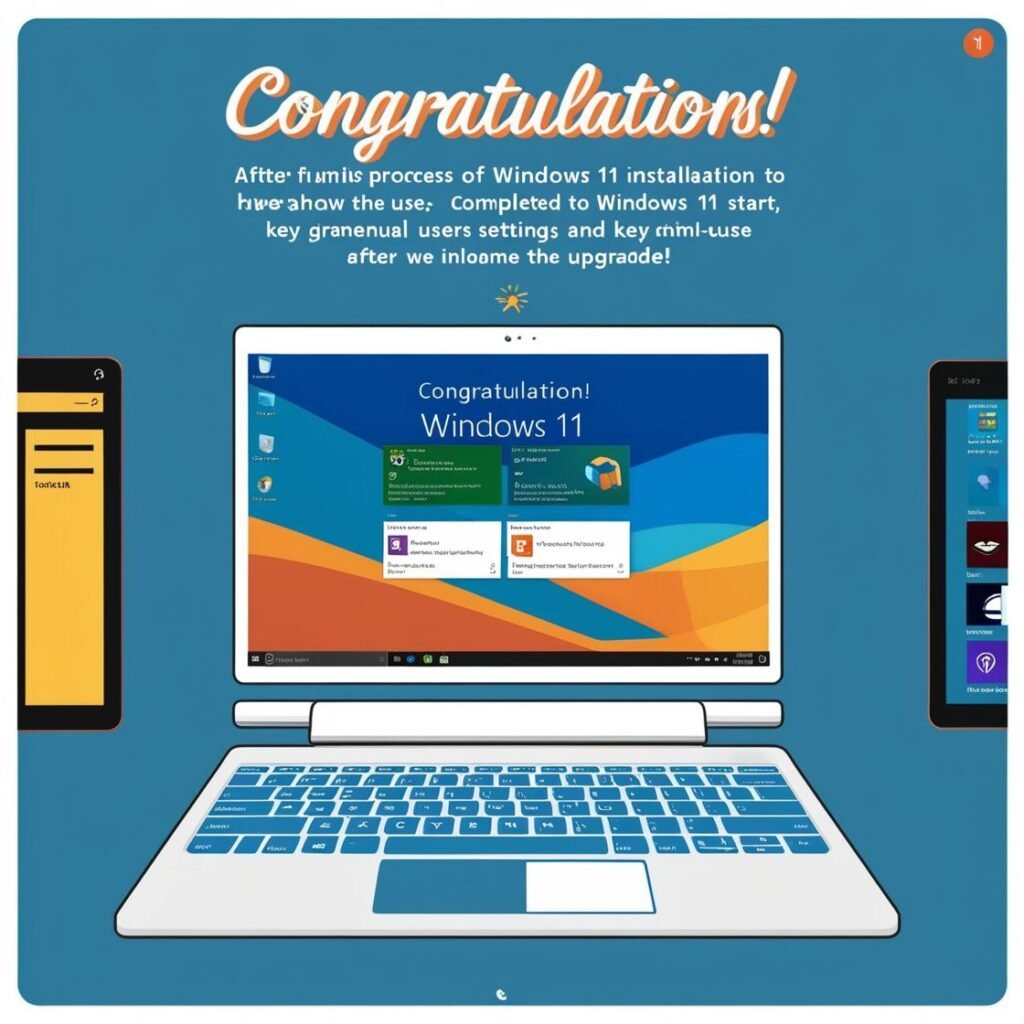
Once your installation was done, your business didn’t stop there.
Here is what I did to ensure everything was working properly:
1. Verify Updates
Once my reboot was done, my first stop was Settings > Windows Update to install any remaining drivers or security patches. This gave some stability for the performance.
2. Re-Activate Windows
In my one example, my Windows showed not activated. I logged into my Microsoft account since my device has a digital license associated with it, so it auto activated.
3. Reinstall App Required
I made sure to make a checklist of all the apps I use every day, like Chrome, MS Office, Antivirus software, etc., and I reinstalled them one by one.
4. Re-arrange Start Menu and Taskbar
I spent time getting my task-bar together and removing icons that I do not need based on my daily work.
Again, it made the experience feel a little more “mine.”
Personal Tip:
Remember to backup again all your critical files because you are on Windows 11 and a fresh system is the best time to organize going forward.
conclusion
The Windows 11 Upgrade Assistant is a valuable tool for anyone looking for a simple, secure, and dependable upgrading experience. In this guide, we’ve discussed:
What the tool does
Restrictions / limits
System requirements
Where to download and how to use
Common issues and experiences
Once you follow the guide, you’ll able to upgrade to Windows 11 without any data loss or technical issues.
FAQs
1;. Can I download Windows 11 for free?
AD: Yes, if you’re using a valid version of Windows 10, and meet the system requirements, you can upgrade for free to Windows 11 using Windows Update or the Upgrade Assistant.
2. Is Windows 10 or Windows 11 better?
A: Windows 11 has a less cluttered and more modern interface. It has better performance, better gaming support, and better ways to group working applications.
But if your computer isn’t compatible, or you’re after stable features over new features, Windows 10 may be best for you right now.
3. Does Windows 11 use more RAM?
A: A little. Windows 11, in general, uses more RAM than Windows 10, because of its features which add visual detail and running background services.
Windows 11 can be comfortable to use with a minimum of 8GB of memory.
4. How do I upgrade from Windows 10 to Windows 11?
A: The steps are simple: 1. Go to Settings > Update & Security > Windows Update
2. Click “Check for updates”.
3. If you are eligible, you should see a “install Windows 11” prompt.
Alternatively, Friends can also install Windows 11 via the Windows 11 Upgrade Assistant from Microsofts official website.