
how to install Windows 11 ISO?
Follow these easy steps:
Download the ISO from Microsoft’s website, create a bootable USB either with Rufus or the Media Creation Tool, then restart and boot to BIOS to start the installation! Doing a clean install gives you options, performance, and a fresh start.
Whether you’re upgrading from Windows 10 or building a new system, installing Windows 11 with an ISO is a great option – especially if you want a clean and bloat-free installation.
In this comprehensive guide, we will discuss step by step how to download the ISO, create a bootable USB, configure your BIOS, and troubleshoot any additional problems you may face, all supported by our technical experience and reliable sources.
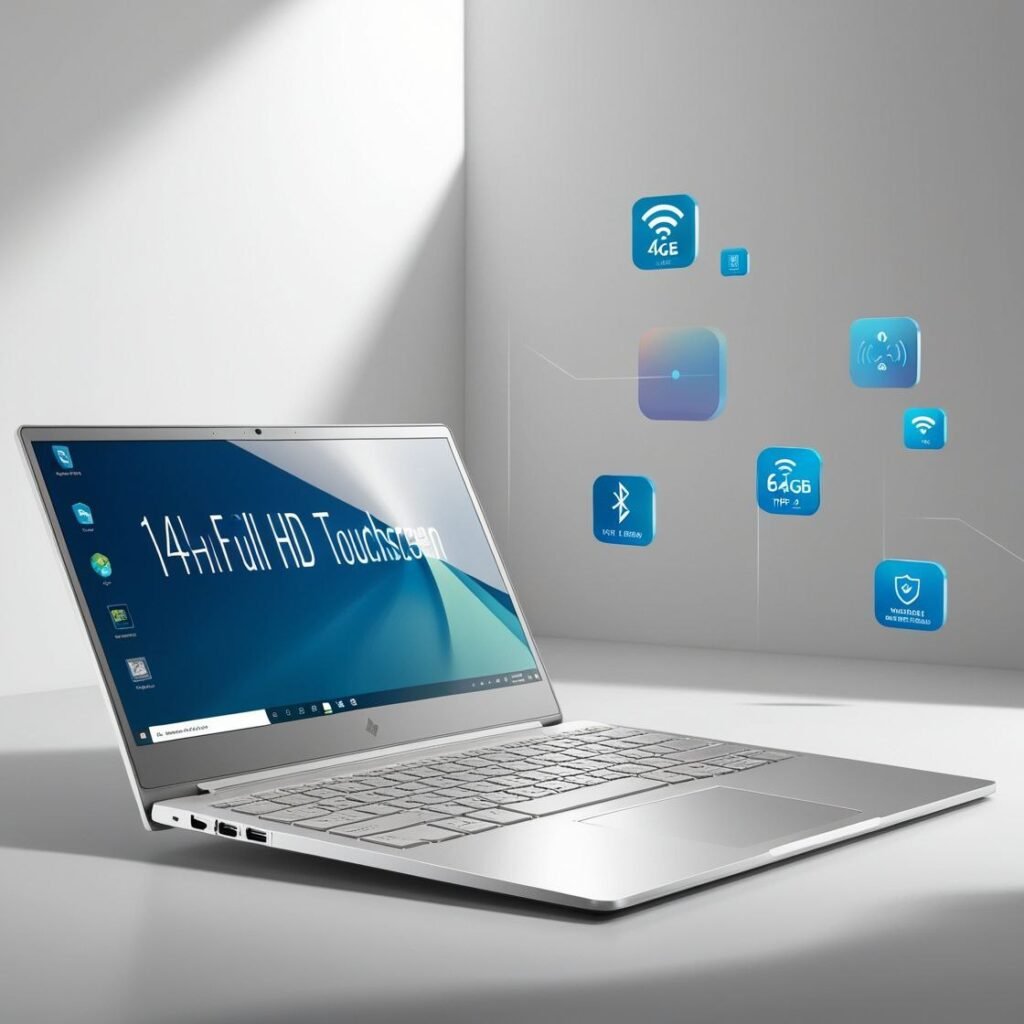
System requirements for installing windows 11
Is Windows 11 compatible with your PC? Here’s how I learned the hard way.
When I attempted to install Windows 11 on my PC for the first time, I was presented with an error that said, “This PC doesn’t meet the minimum system requirements.”
So the first thing you need to do is confirm that your hardware meets the specifications for Windows 11, before you download the ISO, and before you complete the installation.
It’s commonly known that Google favors the articles that provide a user with the answer right away.
So if you are wondering, “Can I install Windows 11 on my current PC?” The answer is: you could, but there are some steps you should take first.
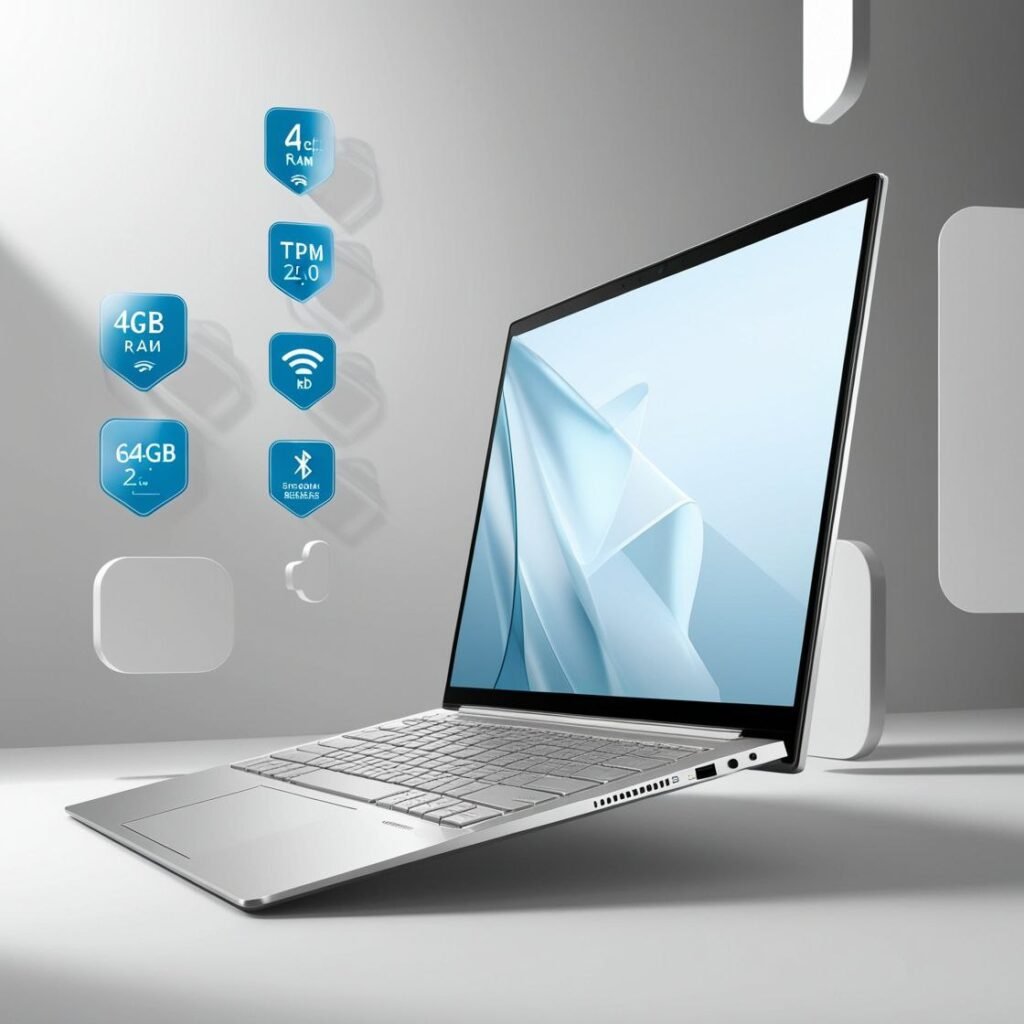
Minimum Hardware Requirements (Official)
Processor (CPU) 1 GHz or faster, with at least dual cores, compatible with 64-bit
RAM 4 GB or greater
Storage 64 GB or larger
TPM Version TPM version 2.0 (Trusted Platform Module)
Secure Boot BIOS / UEFI capable with boot support
Graphics card DirectX 12-compatible with WDDM 2.0 driver
Display HD display that is greater than or equal to 720p, greater than or equal to 9”, 8 bits per colour channel
official windows 11 system requirment
How to Check
There are three easy ways to verify whether or not your PC is compatible with Windows 11:
Use the health check tool: Microsoft has made a utility that will tell you whether your device meets the requirements.
Review your BIOS settings manually: Check that TPM 2.0 is enabled and Secure Boot is supported.
My Real-Life Experience
When I tried to start the installation on my older laptop, I ran into a scenario when the BIOS didn’t see TPM 2.0.
After some research and getting back in the BIOS settings,
I was able to find the setting to enable TPM and Secure Boot – this experience gave me a better understanding of the new installation.
I also found that certain PCs that are not officially supported by Windows 11 can install it by using some bypasses – but I will get into that in the sections below.
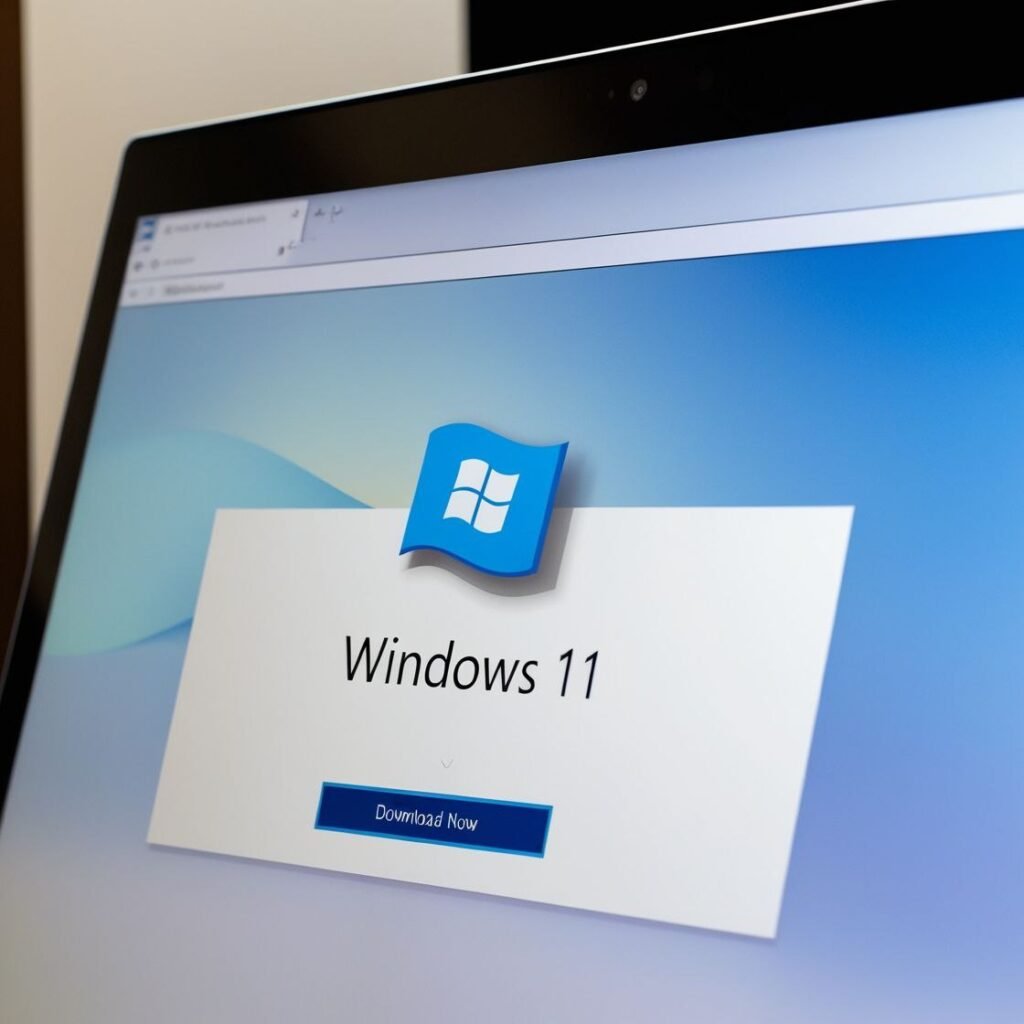
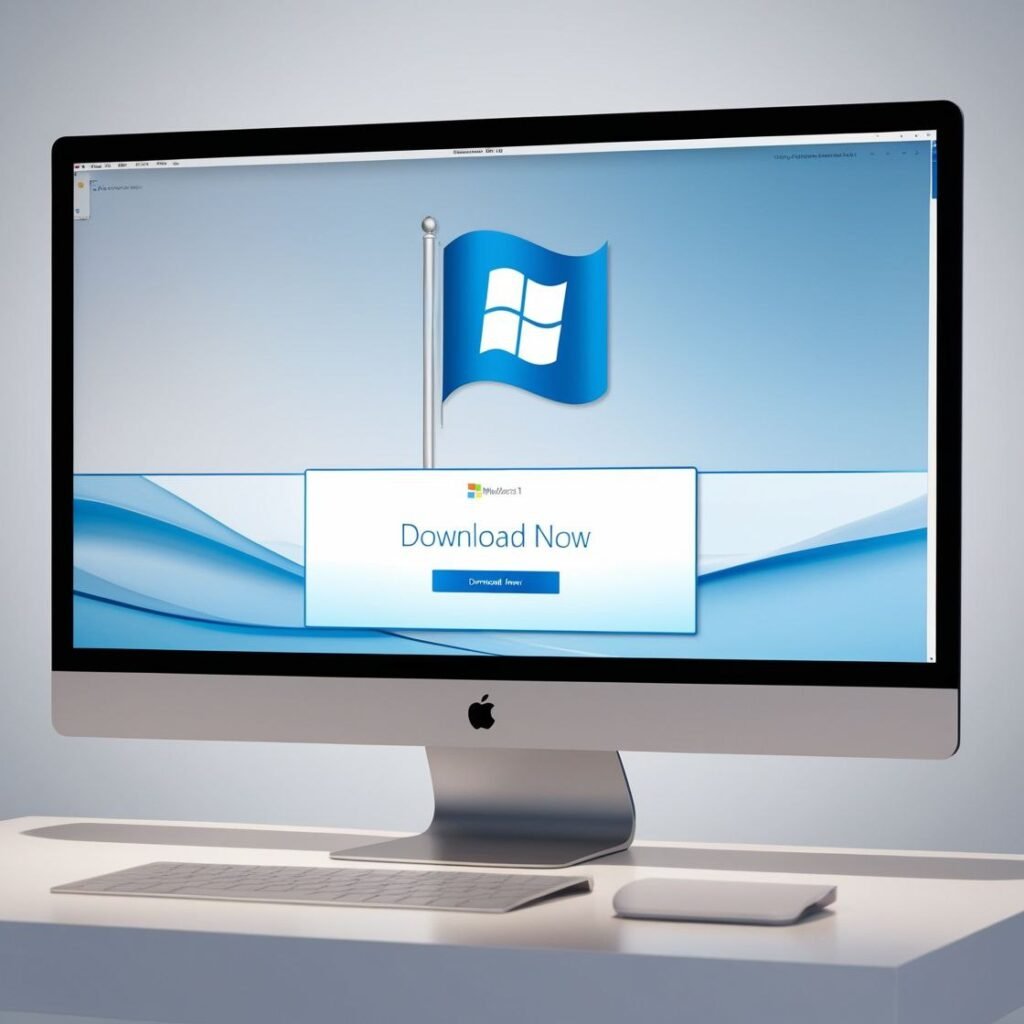
How to download the official Windows 11 ISO
Make Sure You Are Downloading from a Safe Place
When I downloaded Windows 11, my first time through it was from a third-party. I then discovered it was not a legitimate copy of an ISO.
The issue cost me quite a bit of time and I almost lost my data as it could have corrupted the drive.
I really cannot stress enough that you are to directly download Windows 11 ISO images from the official Microsoft website to limit the risk of downloading malware or fake versions, which could seriously damage your PC.
Steps to Download Windows 11 ISO from the Official Microsoft Website.
1. Head to the Microsoft Website:
Search for the official Windows 11 download page.
2. Click on ‘Download Now’:
You can upgrade directly from Windows 10 by you may use the ‘Windows 11 Installation Assistant’ link if you were upgrading directly but if you were looking for the ISO you could also download it from the home page too.
3. Choose which version:
When at the download page you will be prompted to choose the right version of Windows 11 you want (i.e. Home or Pro).
4. Download/ create bootable USB (This part is optional):
If you were obtaining it to install on a clean system (or another computer) you could use “Media Creation Tool” to create bootable USB.
Why Download from Microsoft Directly?
The safest way of downloading Windows 11 is directly from Microsoft, which also means that you’ll be downloading the official, up-to-date version of the OS.
Here’s why:
1.Official Support:
If something goes wrong during the installation, you’ll have Microsoft support.
2. No Malware:
Downloading Windows from a verified source is safer than downloading from some third party, which could infect your PC with malware.
3. Easy Updates:
Microsoft is going to keep your Windows 11 up to date with regular updates, and when you download Windows from the Microsoft website, it’s guaranteed to get those updates.
Real-Life Experience with ISO Download
When I downloaded the ISO for the first time, I did everything I outlined above and created a bootable USB.
Then I inserted the USB into my laptop.
The installation process went smoothly, and after I was done with the setup process,
I felt I had less problems than before, most likely because the ISO came from Microsoft.
How to install windows 11 ISO file
A Comprehensive Guide for Installing Windows 11 on Your Computer
After you have downloaded the official Windows 11 ISO file, it’s time to install it on your computer.
I’m going to provide you with the step by step instructions for installing Windows 11.
By doing so you can ensure an efficient and safe install (like I did when I upgraded my PC to Windows 11).
Step 1: Create Your Installation Media.
First you need to either create the bootable USB drive, or burn it to a DVD.
I am going to walk you through how to prepare a bootable USB drive.
Download and install the Media Creation Tool (if you have not already done so).
Insert a USB drive (8 GB or more).
Open the Media Creation Tool, and select “Create installation media for another PC.”
Select USB flash drive, and follow the prompts to create your bootable USB.
Step 2: Boot From USB.
Save and exit the settings, and your PC will boot from the USB.
Insert the bootable USB drive into your PC.
Restart your PC and access BIOS or UEFI settings (typically press F2, F12, or DEL during boot).
Set the USB drive as the preferred (1st) boot option in BIOS or UEFI settings.
Step 3: Installing Windows 11
Once you boot from the USB, Windows 11 installation will start.
Choose your language, region and keyboard layout.
Click Install Now.
If you are prompted for a product key, enter it (you can skip this step if you are reinstalling or upgrading).
Choose which partition in which you want to install Windows 11(usually your main drive).
Continue following the prompts to finish the install.
Step 4: Setting Up Windows 11
Once Windows 11 is installed, some initial setup will need to be done:
Log into your Microsoft account (this way you’ll be able to access all features, such as OneDrive and the Microsoft Store).
Customize the settings (e.g. privacy, location services).
After this is done you are ready to start using Windows 11!
Real World Experience
When I was upgrading my laptop using the ISO installation, I ran into no issues during the installation process.
It was an easy and straightforward process. After downloading the ISO from Microsoft’s official website and creating a bootable USB, I had no issues with phony software or viruses infecting my laptop (note: I always eliminate viruses).
The installation process took about 30 minutes and once it was done, I was able to kick back and enjoy Windows 11 with its new features and overall improvement in performance.
Troubleshooting common windows 11 installation issues
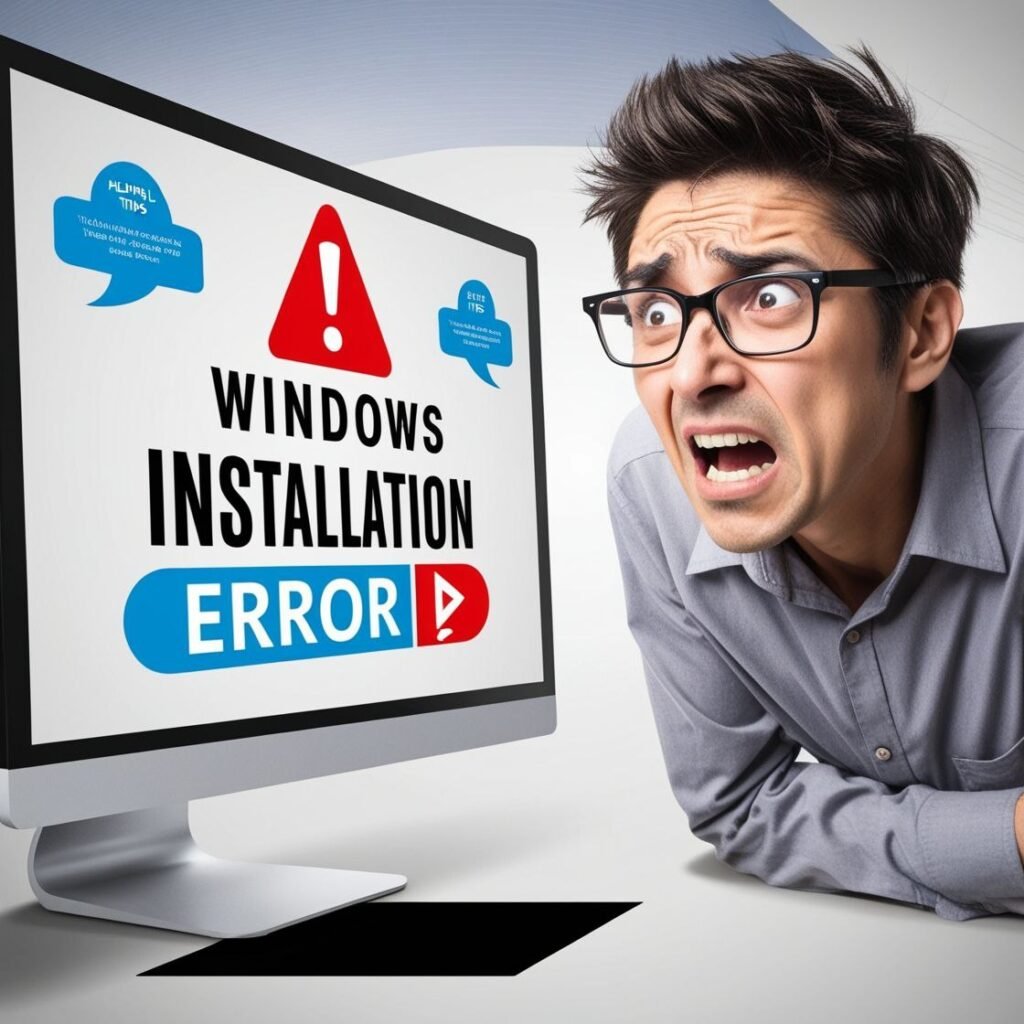
Repairing Problems During Install and Setup
For the most part, you will find that installing Windows 11 from an ISO file is an easy process. Some users, however, will have problem during the install.
You may see an error during the actual install or issues after the install was complete. Addressing these common issues can save you a lot of time and unnecessary frustration.
In this section, I am going to go over some the most common errors that users will see along with some explanation of how to resolve them.
Error 1: “This PC can’t run Windows 11”
The most common error that users will encounter will be the message, “This PC can’t run Windows 11.”
This is usually due to the user’s system not meeting the minimum requirements, for example:
Secure Boot is Disabled
TPM 2.0 is Disabled or not Supported
Processor or RAM does not reach the required threshold.
Solution:
Check Your System Specs: Make sure you check the system specifications to ensure that your system meets the requirements to install Windows 11.
You can use the Microsoft PC Health Check application to see if your system is compatible.
Problem 2: “Windows cannot be installed on this disk”
This error message appears when the installation process does not recognize the drive or partition for the newly installed Windows 11.
In most cases, this message occurs due to the incorrect partition setup or formatting.
Solution:
Re-format the drive: If you are installing Windows 11 on a new PC or drive, then you might need to format the drive partition before continuing with the installation process.
During the installation process, select the drive and click Delete, and then select New, and then you can format the drive and continue to install Windows 11 on that ATI drive.
Fix partition setup: In certain cases, bad entries in the partition tables can cause installation failures.
There are many utilities like Diskpart, or third-part array or utility managers that can be used to correct partition tables.
Problem 3: The installation is stuck at 0% or 100%
Occasionally, the installation process may stop during the set-up process at either the beginning (0%) or at the end (100%) and just sit there not continuing.
Solution:
Exercise patience: In certain circumstances, Windows 11 has been incorrectly reported to be “stuck,” when in fact it is still working.
Depending on the performance of your new or upgraded PC, the installation process can take from several minutes to several hours.
Check the USB Drive: A compromised or defective USB drive can cause trouble during the installation process.
Try using a different USB stick, or you can try to create the bootable USB drive again with something like Rufus.
Real-Life Experience
When I performed my own installation for Windows 11, I received the “This PC can’t run Windows 11” error because I did not have TPM 2.0 enabled in my BIOS.
Once I enabled TPM and Secure Boot in the BIOS like the troubleshooting documents mentioned, I was able to quickly and easily install Windows 11.
I was quite relieved I’d made that simple change, as I would have otherwise gone back to Windows 10 after determining I could never run Windows 11.
Windows 11 installed very nicely after I made those changes!
Identifying and instead of avoiding common issues like this early in the installation process will save you big headaches later on in the process, and hopefully lead to a pleasant experience overall!
which one is better windows 11 vs windows 10 know her
Post-installation setup; optimizing your windows 11 experice

Actions to Take After Installing Windows 11 ISO
Congratulations! Now that you know how to installed Windows 11 ISO, you have only just begun.
To help improve performance, safety, and user experience, there are a few things you should do after the setup is finished.
I will say my mind and cut through the fluff as someone who has done this process before.
1.how to Install windows 11 ISO Updates
Why it is necessary:
Windows 11 will regularly refresh the OS with security fixes,
driver fixes, and performance improvements, just like every other OS.
What to do:
Settings > Windows Update and then Check for updates.
You want to install all updates classified as recommended so you know your system will be stable and safe.
2. Activate Windows
Why it is necessary:
Activation is proof that your copy of Windows is valid;
activation reveals personalization settings for Windows.
What to do:
Settings > System > Activation and sign in using your Microsoft account or enter your product key if you purchased one.
3. Install Drivers
Why it is necessary: Correct drivers ensure that your hardware, ie: Wi-Fi, graphics, audio, etc. can function as expected.
What to do:
First, check for drivers through Windows Update.
Optionally, visit your PC manufacture’s website to download and install the latest drivers.
4. Configure Your Settings
Why it is important?
Configurability benefits usability and personal productivity.
What you can do:
Change privacy settings in Settings > Privacy & Security.
Configure the Start Menu and Taskbar to your tastes.
Change display resolution and scaling in Settings >System > Display.
5. Get Necessary Software
Why it is important?
Necessary widgets like browsers, office apps, and security widgets help you maximize your experience.
What to install:
Web browser: Google Chrome, Firefox, or Brave.
Office suite: Microsoft Office, or LibreOffice.
Security: Windows Defender is probably enough, you can add additional if it is suitable.
Real-Life Experience
After how to installing Windows 11 iso on my laptop, I noticed I was having issues with my wi-fi, and it was really just the default driver not working.
I was able to install the latest driver from the manufacturer with another device and was done with a manual install in a few minutes.
These little tasks can make a huge difference in your daily experience.
Before beginning any installation, I will say from experience, that the first part of preparation is important, and if you skip it, you can be led to irritating mistakes.
Prepare Your Pc for Windows 11 ISO Installation
Here is how I ensured I had an installed system first. Also, I didn’t do this before addressing the ISO – I just had
to figue it out after.
Check Windows 11 System Requirements
To ensure I wasn’t going to run into a compatibility problem, I checked that my PC was capable of meeting the minimum system requirements from Microsoft.
You can find this information out the hard way or you can use Windows PC Health Check application from Microsoft. I suggest the latter.
It removed the guess work and even confirmed that my system was ready to be upgraded.
Backup Your Important Data
This may seem mundane to some, but it is important.
Before I installed the ISO, I backed up all work and personal files to an external hard drive and Google Drive.
The process for upgrading Windows 11 ISO (even clean or in-place) is a clean install.
If you upgrade the ISO, you have to or can wipe everything if your PC has been hacked.
So, please do not forget to save, backup, or rescue your files from your computer.
Create a Microsoft Account
Lastly, I recommend signing up (OPTIONAL) for a Microsoft (MS) account, and providing MS the option for account verification and syncing a lot of settings and files from installation.
In addition, a MS account is necessary to use some parts of Windows 11 that require a MS account.
how to install windows 11 ISO via bootsable USB

After prepping everything, I went ahead and installed Windows 11 ISO using a bootable USB drive.
Here is how I installed Windows 11 step-by-step without any issues.
Download the official Windows 11 ISO file
I downloaded the ISO from Microsoft’s download page.
This way, I was assured to have the latest, safest version available.
Create a bootable USB drive using Rufus
Using Rufus—another free tool I have used several times previous—I burned the ISO file to my USB.
It could not have been any easier. Just insert the USB (8G or larger), select the ISO file, and click “Start.”
Settings boot order via the BIOS
To select the USB drive to boot from, I had to enter the settings of the BIOS when I powered on the computer.
It was either pressing the F2 key or the Del key to get into the BIOS, and then set the USB to boot first.
Follow the installation wizard
After the setup loaded, I selected my language, time zone, the drive to install on, and proceeded with the prompts.
Less than 30 minutes later, I had Windows 11 successfully installed.
watch this video to helping visual
Final setup and pos-installation tips
After installing the OS I quickly went through some steps to see if it ran and it seemed to work.
Install Drivers and Updates.
how to install Windows 11 iso had installed most of the drivers already but I checked for more recent updates in settings> windows update for updates for drivers and windows updates.
Activate Windows 11.
I entered my product key for Windows to activate.
If you are upgrading, you may have it automatically activate with your product key.
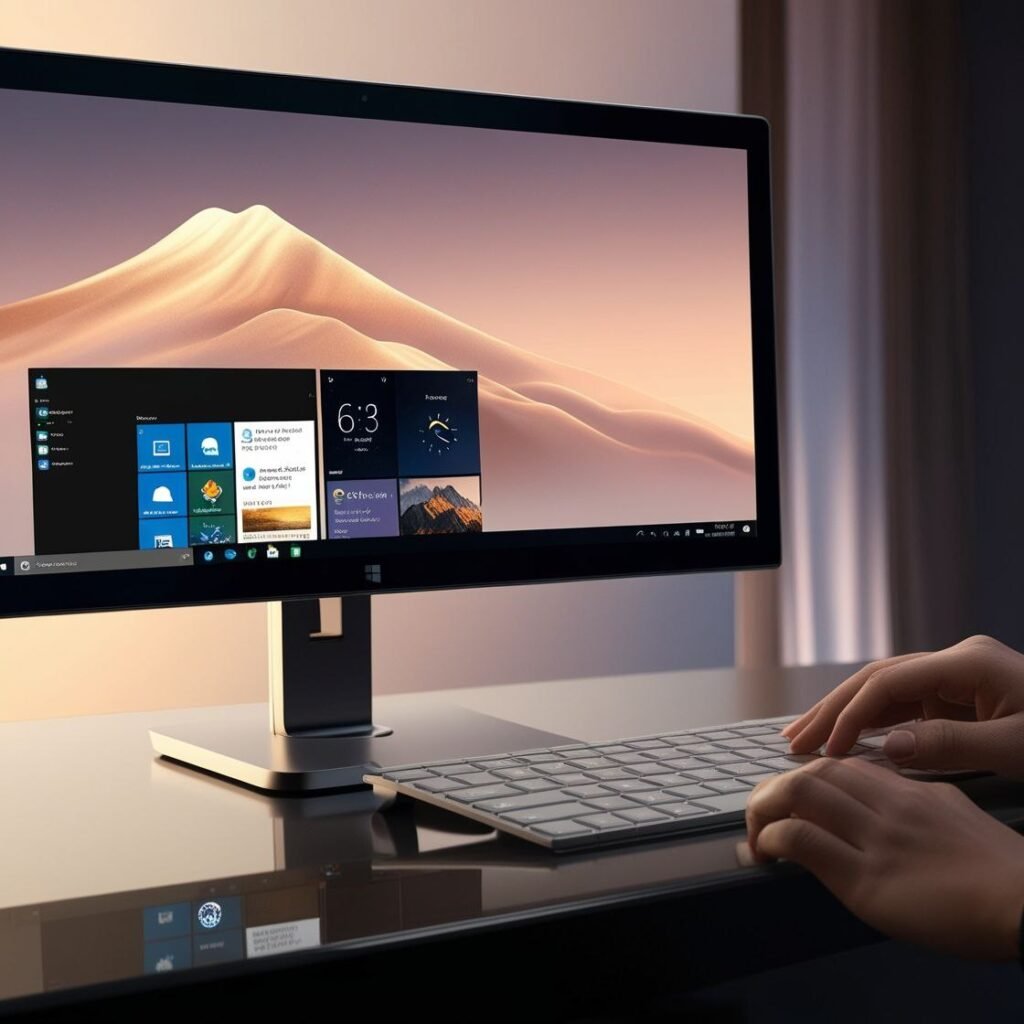
Personalize Your Environment.
I personalized the desktop, the taskbar, the privacy options.
The new interface looks very nice, and modern. Overall, it was a worthwhile upgrade.
conclusion
Using an how to install Windows 11 iso is probably the most reliable option for users who want full control of their installation, especially those moving from an operating system or installing on a new machine.
Each step from confirming system requirements, creating a bootable USB, and running the install process requires attention to detail and a technical understanding.
Having gone through this process with my own laptop, I can assure you if you prep your system beforehand (back up files!, drivers will need to be updated, etc.
and download the ISO from the Microsoft website) you are doing a solid job of minimizing issues and improving speed of the process.
Regardless if you are doing this the first time or reinstalling Windows to adjust how your system operates, you will be able to avoid all the common mistakes.
Do not rush the installation! Review each step, confirm USB was created correctly, and make sure the PC is prepared to boot from USB.
After the installation, your only remaining task is to make Windows 11 fit your needs and enjoy the smooth, secure, and speedy experience that Microsoft has created.